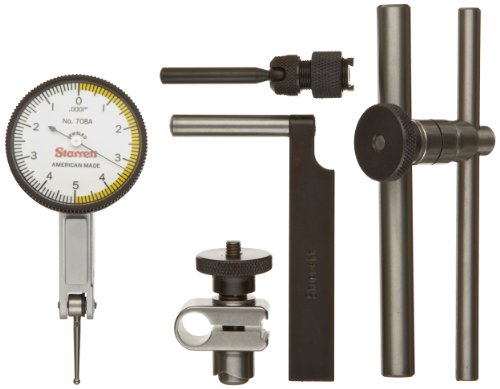
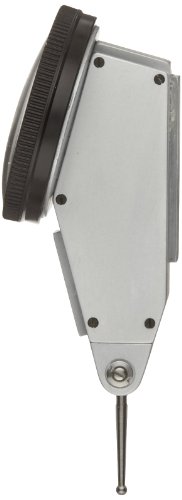
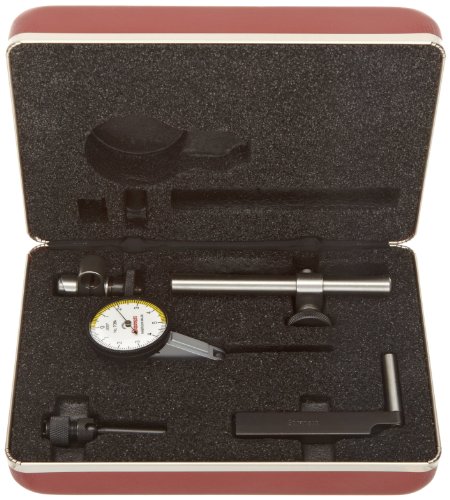

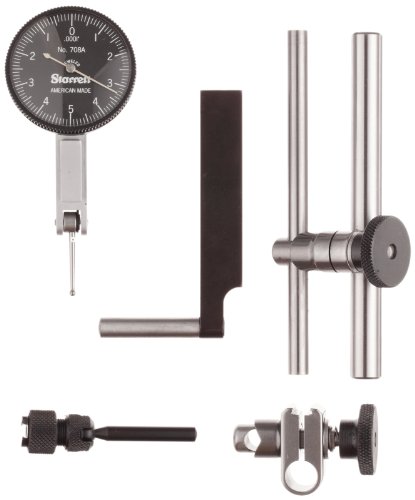
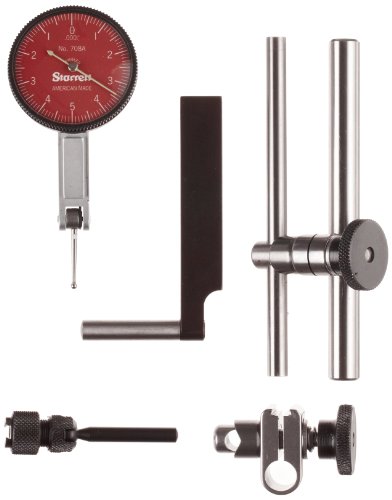
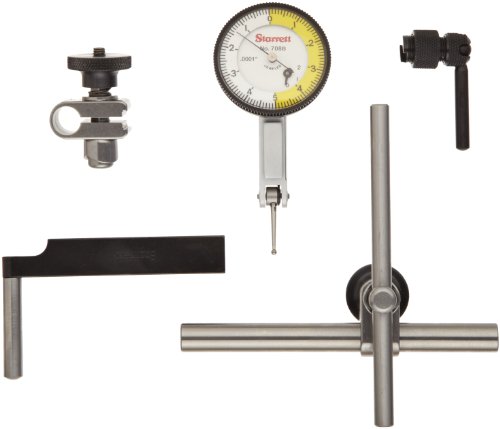
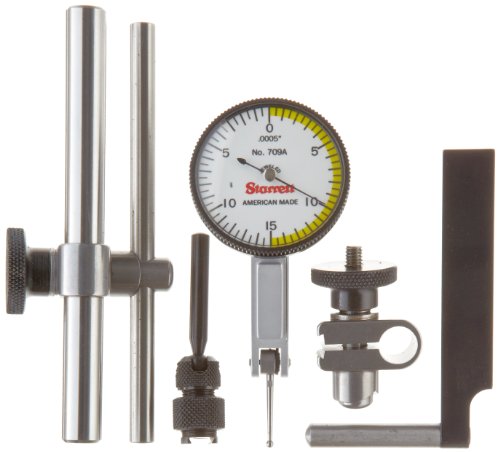
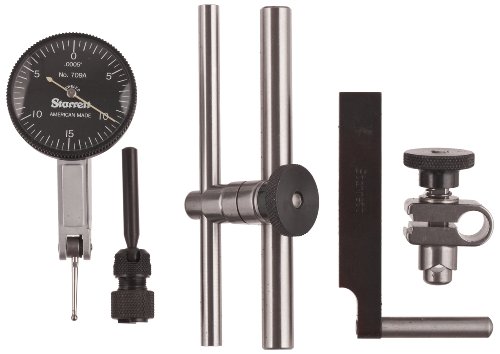
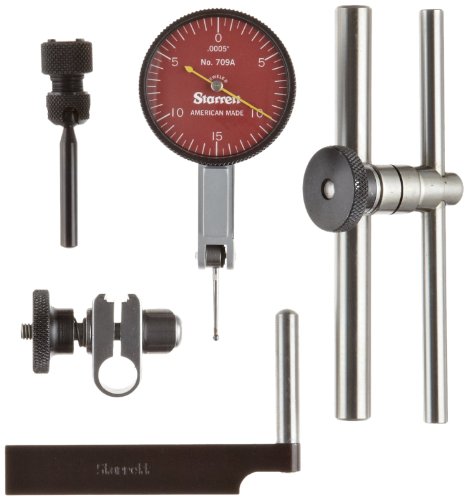
The Starrett dial test indicator with attachments has a Red, black, or white face, and inch measurements. It has a narrow body for use in hard-to-reach areas, and has a choice of red, white, or black dial face for use in a variety of lighting settings. The carbide ball-contact tip reaches into the workpiece for accurate measurements of turned, milled, and ground parts, and for tool setting gauges, fixtures, and inspections. The continuous clockwise pointer rotation with automatic reversal helps prevent plus or minus confusion. The ball-bearing lever system with measuring insert swivels through to 210 degrees. The dial has an angled face and three dovetail mounts, and can be mounted horizontally or vertically from the front, top, or back of the indicator. The indicator has a satin chrome finish for durability, and a gear-driven, jeweled movement for accuracy. The contact points are frictionally adjustable and replaceable. This dial test indicator meets or exceeds accuracy and performance requirements of national and international standards, and is traceable to the United States National Institutes of Standards and Technology (NIST). The set includes a dial test indicator, a dovetail body clamp, a tool post holder, a swivel post snug with dovetail indicator clamp, a snug and rod, and a storage box.
Dial readings with three digits, such as 0-10-0, signify that the indicator has a balanced dial. Dial readings with two digits, such as 0-100, indicate that the dial has a continuous dial. Balanced dials are used to read the difference from a specific surface reference point. Continuous dials are used for direct readings and usually have a larger measurement range than balanced dials.
Dial indicators are also called dial gauges, dial calipers, and probe indicators. These precision measuring tools are used to accurately measure small linear distances and object sizes. The dial magnifies the measurement so that it can more easily be read by the human eye. Frequently used in manufacturing, laboratories, and other industrial or mechanical fields, dial indicators are used anywhere a small measurement must be found and recorded or transferred, such as checking the variation in tolerance of a workpiece. Standard dial indicators measure the displacement along the axis of the indicator. Dial test indicators are very similar to dial indicators, except that the axis of measurement is perpendicular to the axis of the indicator. Dial and dial test indicators can be analog, with a mechanical dial, or electronic, with a digital display. Some electronic models transfer the data electronically to a computer for recording and potential manipulation.
The L.S. Starrett Company manufactures precision measuring tools, metrology and testing equipment, and saw blade products. The company was founded in 1880 and is headquartered in Athol, MA.
What's in the Box?
Copyright © 2025 상지서비스. All Rights Reserved.